Securing localhost with HTTPS
Hello All,
This post is after a long time. Sorry for the interruption!
Recently, I had a task to secure the localhost with HTTPS. And for that we need a valid ssl certificate. So you might be aware, the valid ssl certificate from Certificate Authorities only come with a valid domain name. But if we are on the local dev environment, how do we test it? Well, readon!
After lots and lots of browsing on stackoverflow and Github and various other sources available on the internet, I finally figured how to do it, and so I thought it’s best to document it for others reference as well. There are already various articles available on the internet for the same, but most are outdated as Chrome updated their policies and stuff.
A little background on the SSL certificates
How does the Chrome or any other browser recognize that the website you are opening is valid or not? It checks for the certificate, checks it signing authority, and validates. For websites and web-apps with Fully Qualified Domain Name(FQDN), Let’s Encrypt provides the certificates that can validate your domains and provide the padlock. When Let’s Encrypt generates a certificate, it signs it. Chrome or any other web-browser has a list for the Certificate Signing Authorities(CA), and it validates the certificates CA across this list and validates. If it is present in that list, you are good to go, otherwise it generates the error:
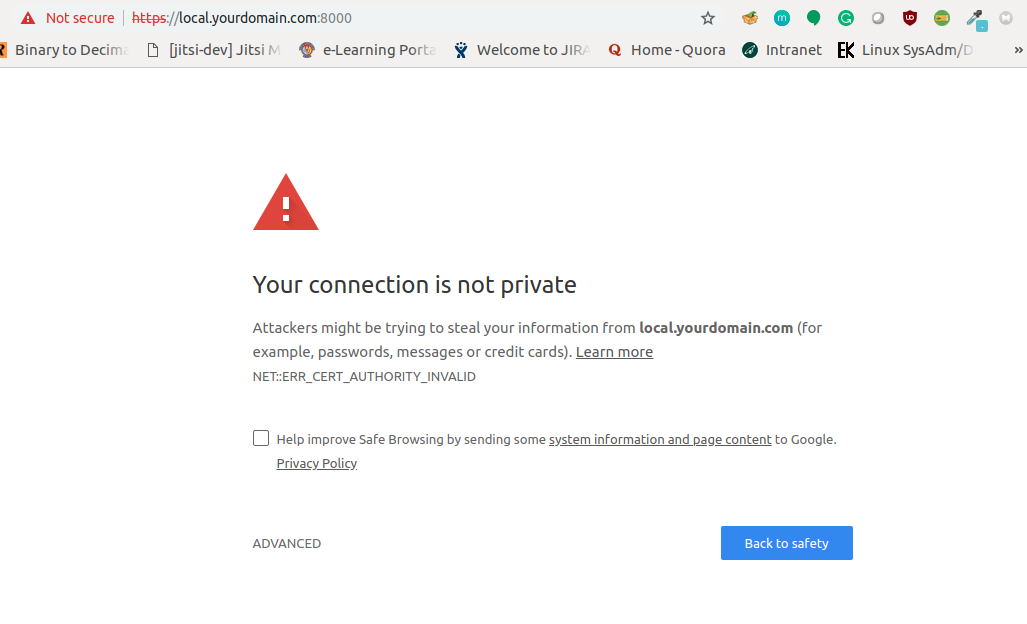
So we need a way, to tell the Chrome to trust the self-signed CA. The process would be:
- Create a self-signed cert (A)
- create another cert using A (B)
- Register A in Chrome so it knows the CA and validates B
Generating Certificates
Following steps are for Ubuntu OS. For other distributions, the steps may change slightly.
You’ll need openssl to generate the self-signed certificate. We will first generate a key file and using this key we will generate the certificate.
$ openssl genrsa -des3 -out rootCA.key 2048
You will be prompted to enter the passphrase that will be encoded in the key. For every subsequent certificates you generate using this key, you’ll need to enter that passphrase to validate.
We now generate a .crt file.
$ openssl req -x509 -new -nodes -key rootCA.key -sha256 -days 1024 -out rootCA.crt
This will generate the .crt file for 1024 days. You can modify the parameters as required.
Now the A is ready.
On Ubuntu, we now need to add this is to your trusted source using certutil. This can be found in the package, libnss-3 package.
$ sudo apt-get install libnss3-tools
sudo certutil -d sql:$HOME/.pki/nssdb -A -t TCP,TCP,TCP -n rootCA.crt -i rootCA.crt
For Mac, you can add this to your KeyChain. Open Keychain Access on your Mac and go to the Certificates category in your System keychain. Once there, import the rootCA.crt using File > Import Items. Double click the imported certificate and change the “When using this certificate:” dropdown to Always Trust in the Trust section.
The root SSL certificate can now be used to issue a certificate specifically for your local development environment located at localhost.
Create a new OpenSSL configuration file server.csr.cnf so you can import these settings when creating a certificate instead of entering them on the command line.
[req]
default_bits = 2048
prompt = no
default_md = sha256
distinguished_name = dn

[dn]
C=US
ST=RandomState
L=RandomCity
O=RandomOrganization
OU=RandomOrganizationUnit
emailAddress=hello@example.com
CN = localhost
Create a v3.ext file in order to create a X509 v3 certificate. Notice how we’re specifying subjectAltName here.
authorityKeyIdentifier=keyid,issuer
basicConstraints=CA:FALSE
keyUsage = digitalSignature, nonRepudiation, keyEncipherment, dataEncipherment
subjectAltName = @alt_names

[alt_names]
DNS.1 = localhost
Create a certificate key for localhost using the configuration settings stored in server.csr.cnf. This key is stored in server.key.
$ openssl req -new -sha256 -nodes -out server.csr -newkey rsa:2048 -keyout server.key -config <( cat server.csr.cnf )
A certificate signing request is issued via the root SSL certificate we created earlier to create a domain certificate for localhost. The output is a certificate file called server.crt.
openssl x509 -req -in server.csr -CA rootCA.pem -CAkey rootCA.key -CAcreateserial -out server.crt -days 500 -sha256 -extfile v3.ext
You’re now ready to secure your localhost with HTTPS. Move the server.key and server.crt files to an accessible location on your server and include them when starting your server.
If you need anyother subdomain, change the CN from localhost to that subdomain.
A simple Nginx server running on localhost would have the config like:
upstream backend {
            server 127.0.0.1:8000;
        }
        server {
            server_name localhost;
            rewrite ^(.*) https://localhost;
        }
        server {
            listen               443;
            ssl                  on;
            ssl_certificate      /path/to/server.crt;

            ssl_certificate_key  /path/to/server.key;
            keepalive_timeout    70;
            server_name localhost;
            location / {
                    proxy_pass  http://backend;
            }
        }

And Voila! You are now running localhost on HTTPS!
I hope you find this useful.